
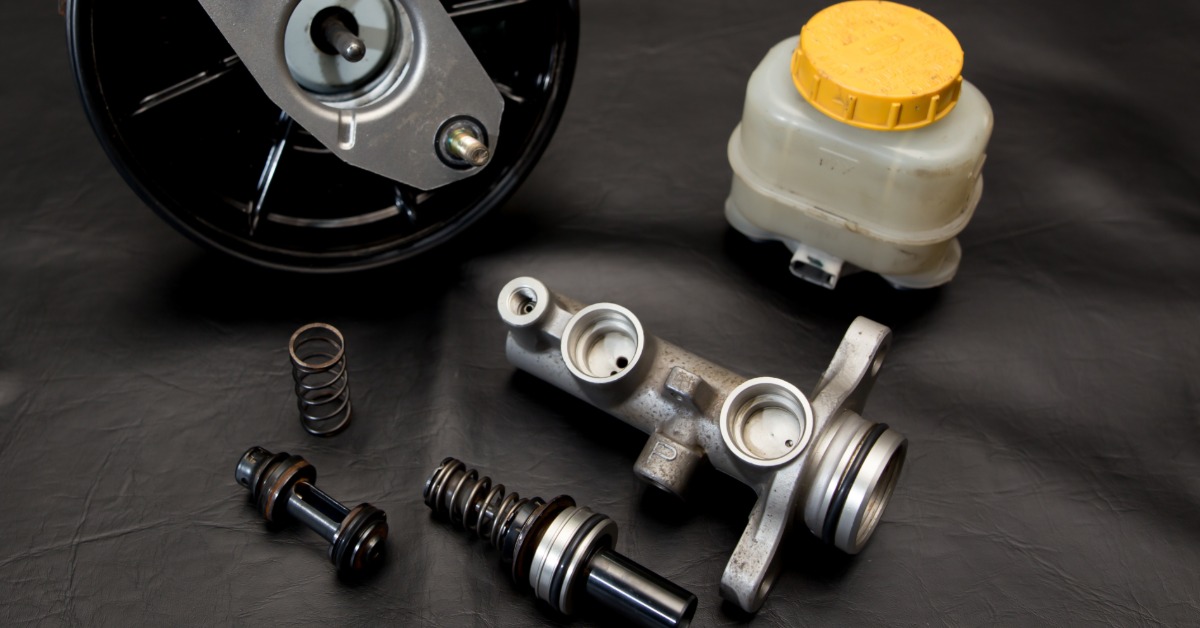
A hydraulic clutch system turns pedal pressure into fluid movement, so the clutch fork releases the clutch disc cleanly. The system depends on a master cylinder and slave cylinder with a hydraulic line and fresh brake fluid. Once seals wear down inside either cylinder, the pedal loses its firmness, and shifting gears becomes rough.
Fluid leaks or a sinking pedal point toward a rebuild because the system no longer holds steady pressure. Rebuilding a Toyota hydraulic clutch system with quality Aisin parts suits owners who want factory-style operation instead of uncertain fitment. With the right parts laid out before disassembly, the job has a clear sequence.
Choose Parts Made for Factory Fit
Aisin supplies original equipment components used across many Japanese vehicles, such as Toyota. Their clutch hydraulic parts match factory dimensions and port placement with the factory pushrod design. The precise fit reduces adjustment problems during repairs because the master cylinder and slave cylinder align with existing mounting points.
Quality counts inside a hydraulic system because pressure transfers through small rubber seals. A well-made cylinder bore lets the piston travel smoothly during every pedal stroke. Good rubber seals resist fluid exposure and maintain pressure after repeated clutch use.
This rebuild works best with parts built around the original system layout. Aisin Toyota parts fit that goal because the parts support the factory hydraulic path.
Confirm the Full Parts List
A complete rebuild starts by removing the fluid from the reservoir. Be sure to match the new master cylinder and slave cylinder to the exact model year. Small production differences affect mounting shape and hydraulic line placement.
Gather parts and supplies before opening the system. The project commonly includes both clutch cylinders with fresh fluid and line hardware. A flare nut wrench protects hydraulic fittings better than an open-end wrench.
Review the existing clutch line before deciding whether reuse makes sense. Rusted fittings and swollen rubber sections block fluid movement. A damaged line will undermine new cylinders because pressure cannot move cleanly through the system.
Protect the Work Area First
Hydraulic fluid spreads quickly once a line opens. Cover painted panels near the master cylinder with clean towels. Keep water nearby because quick rinsing limits paint damage after a spill.
Inside the cab, protect the carpet under the clutch pedal. Fluid drips from the pushrod area when the master cylinder comes loose. A small towel under the pedal bracket catches residue before it soaks into the insulation.
Remove the Old Master Cylinder
Start at the reservoir and remove old fluid with a clean suction tool. Disconnect the hydraulic line with a flare nut wrench. Move inside the cab and locate the clutch pedal connection. Then, remove the retaining clip and slide the clevis pin out of the pedal arm.
Count the exposed threads on the pushrod before loosening the adjustment nut. Return to the engine bay to remove the master cylinder mounting nuts. Pull the unit away from the firewall with steady pressure. It’s important to inspect the firewall area because leaking fluid commonly causes paint damage or leaves behind a residue.
Remove the Old Slave Cylinder
The slave cylinder mounts near the clutch fork on the transmission bellhousing. Loosen the hydraulic line fitting before removing the mounting bolts. This keeps the cylinder steady while the fitting breaks free.
Remove the mounting bolts and slide the slave cylinder away from the clutch fork. Watch the pushrod because it may sit loose between the cylinder and fork. Inspect the fork contact point for wear marks or poor alignment. The new slave cylinder depends on smooth movement at that contact point.
Compare the old and new slave cylinders before installation. Match bolt spacing and line port angle before checking pushrod length and boot shape.
Install the New Master Cylinder
Set the new master cylinder against the firewall and start the mounting nuts by hand. Hand starting avoids cross-threading and keeps the cylinder square against the mounting surface. Tighten the nuts evenly, so the gasket surface is flat. Then, reconnect the hydraulic line by hand before using a wrench.
Inside the cab, connect the pushrod to the clutch pedal. Install the clevis pin and retaining clip with the same orientation used during removal. Set the pushrod length close to the original thread count. Fill the reservoir with fresh fluid from a sealed container.
Install the New Slave Cylinder
Position the slave cylinder to ensure that the pushrod sits squarely against the clutch fork. Start both mounting bolts by hand before tightening either one. Tighten the bolts to the specification listed in the service information.
Reconnect the hydraulic line by hand at the cylinder port. The threads should turn smoothly before the wrench touches the fitting. A fitting that resists early cross-threads the port. If there is any resistance, back it out and restart by hand to ensure that the threads engage cleanly.
Check the rubber boot and pushrod position after installation. The boot should cover the piston area and move freely as the fork shifts. Smooth pushrod alignment improves clutch release and reduces side load on the cylinder.
Bleed Air From the System
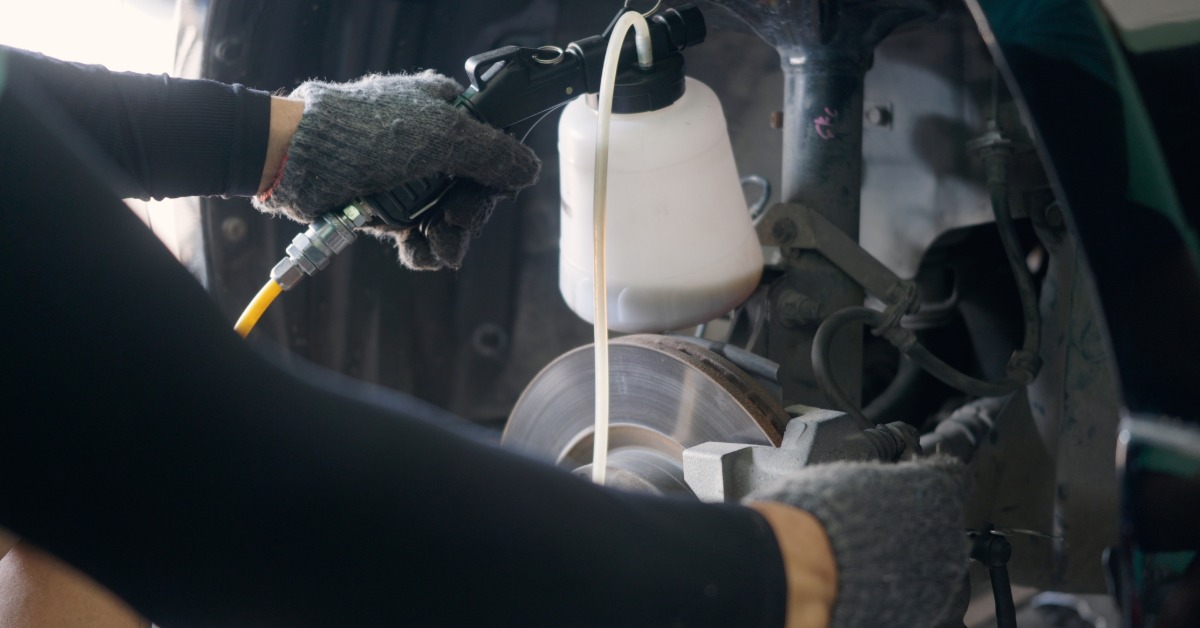
Bleeding removes air pockets that compress under pedal pressure. Attach a clear hose to the slave cylinder bleeder screw and route the hose into a small container. Add clean fluid to the reservoir before the first pedal stroke. Make sure that the reservoir never runs dry during bleeding.
Have one person press the clutch pedal slowly and hold it down. Open the bleeder screw until fluid and air bubbles flow through the hose. Close the screw before the pedal returns. Repeat the process until the stream runs clear and the pedal feels steady.
Gentle tapping along the line moves bubbles toward the bleeder. Slow pedal movement works better than rapid pumping because fast strokes foam the fluid.
Adjust the Pedal and Inspect Leaks
After bleeding, check pedal free play and engagement height. The pushrod adjustment should follow the factory service information. Too little free play holds pressure in the system. Too much free play prevents full clutch release.
Inspect every fitting with the pedal pressed down. Check the master cylinder port and line connections before reviewing the slave cylinder bleeder and pushrod boots. Any dampness means the seal or fitting needs attention before driving. Wipe each area dry and recheck after another pedal press.
Test gear engagement while the vehicle sits still. The shifter should move without grinding once the pedal reaches full travel. A consistent pedal and dry fittings show the rebuild has reached the right point.
Rebuild a Reliable Hydraulic Clutch System
Rebuilding a Toyota hydraulic clutch system rewards careful work and clean installation habits. Yota Shop carries OEM Aisin parts for Toyota owners who want parts built around factory fitment. Browse our selection to find the right parts for your vehicle’s make and model.