
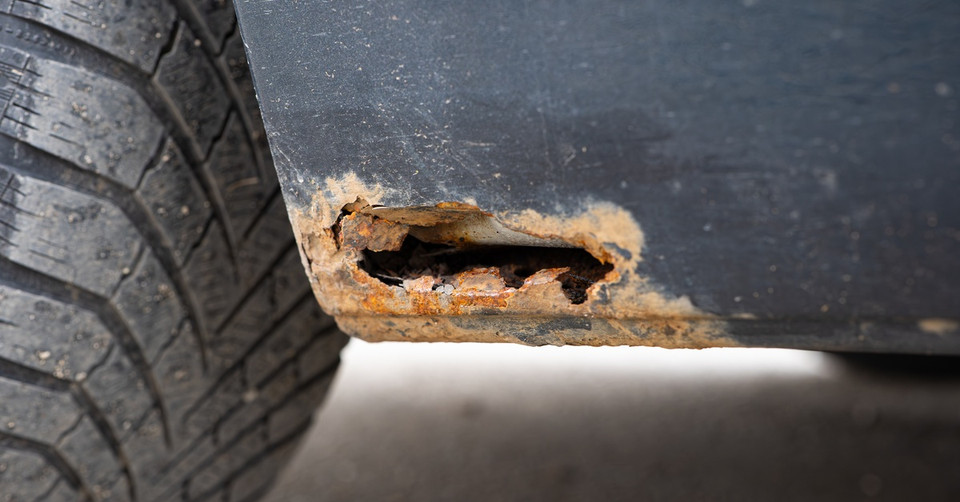
Rust protection is a struggle with every vehicle. The exterior panels show the first bubbles, but rust hides under the bed and cab. Corrosion also attacks frame sections and suspension mounts. Not to mention, the undercarriage is at high risk of damage.
Whether you have a newer Toyota model or a classic truck, the goal is to fix the vehicle so it matches its original condition. Follow these rust repair solutions to restore your Toyota pickup using authentic materials and a skillful approach.
Identify the Damaged Areas
Each step builds on a clear understanding of the truck’s condition. Surface rust can sit above steel that remains solid, which means early damage may appear worse than it truly is. As corrosion progresses into scale and perforation, the metal loses strength and requires deeper repair.
Begin with a clean truck to uncover disguised damage. Dirt and road film conceal seams where moisture tends to settle. An old undercoating may hide swollen metal near the lower body, so removing it reveals the true condition beneath.
Inspect the following components:
- Rocker panels
- Cab corners
- Wheel arches
- Lower doors
- Frame rails
- Crossmembers
- Suspension mounts
There are a couple of tools to use during this inspection. A pick tool reveals soft metal around pinholes, while a magnet detects heavy filler that may hide previous repairs. Make a note of every damaged, so you have a clear, organized restoration plan.
Remove Weak Metal Pieces
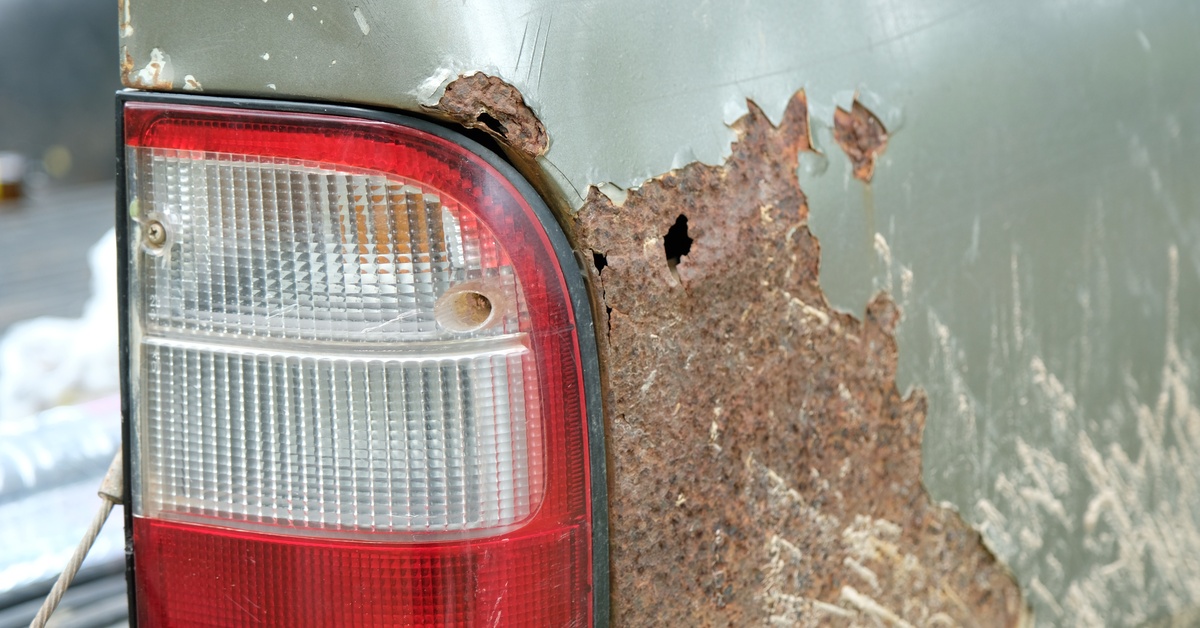
Rust repair works only after damaged steel leaves the truck. Grinding the surface until it shines leaves contaminated metal at the repair edge. Corrosion then returns under primer or seam sealer.
Cut beyond the visible rust until solid steel surrounds the opening. The edge should hold its shape under light pressure. A clean edge gives replacement metal a stable place to join. On exterior panels, that accuracy protects the original body line. On floor pans or bed supports, it restores strength where the truck carries weight.
Controlled cutting matters near factory seams. Toyota pickups use layered metal in several areas where panels overlap. Rust travels between those layers because moisture stays trapped. Separate the layers when the seam has swollen or split.
Repair Cab Floors With Steel
Cab floors commonly rust from both sides. Moisture enters through worn weatherstripping and wet carpet. Drain holes and underbody spray can feed corrosion from below.
Remove the seats and carpet first. Pull the insulation and loose sealer to reveal the bare metal. Save reference points near seat mounts and body mounts because those locations affect fit and safety.
Use steel with the proper thickness and shape. A flat patch over a ribbed floor may close the hole, yet it won’t match the original structure. Formed steel supports the cab and limits floor flex. Weld small sections at a time to ensure that the repair doesn’t warp the surrounding floor.
After welding, grind only enough to smooth the joint. Coat both sides of the repair with primer suited to bare metal. Then, seal the seams to stop moisture from entering the overlap in the future.
Fix Rocker Panels From Within
Rocker panels collect water and road debris along the lower cab. Outside rust bubbles often signal damage inside the rocker. A cosmetic patch on the outer skin hides the issue, and the inner section continues to decay.
Open the rocker enough to inspect the internal metal. Replace any compromised inner sections before installing the outer skin. That order gives the visible panel a stable base.
Door gaps and lower cab lines should match the original shape, so mounting edges must sit in the right position before welding begins. Clamp the panel in place to hold alignment, and test door movement and trim alignment before making the repair permanent.
Rebuild the Bed’s Edges
Since the wheel arches and lower quarters face constant exposure to road spray, they’re likely to develop rust. The corrosion may appear cosmetic at first glance, but the supports beneath the floor play a direct role in how the bed sits on the frame.
Remove loose scale, and inspect the underside to understand the full extent of the damage. An exterior patch alone will not address weakened bed supports. Therefore, you’ll need to replace the compromised structural pieces before moving on.
When repairing wheel arches, focus on maintaining a smooth and consistent curve. Replacement metal should match the factory contour since flat or uneven sections will become visible after painting. Work gradually around the arch and check the shape from multiple angles to guarantee that the repair blends seamlessly with the original design.
Treat Frame Rust by Severity
Light surface scale responds well to thorough cleaning and a protective coating. However, deep pitting near suspension mounts or crossmembers signals a serious structural concern. Holes within a frame section demand skilled inspection before the truck returns to use.
Start by cleaning the affected area down to bare metal to reveal the true condition. Rust flakes can exaggerate damage in some areas while hiding thin steel in others. Measure thickness where possible, and compare those readings with nearby solid sections. Pay close attention to weld seams because cracks typically develop alongside heavy corrosion.
When structural damage is an issue, repairs must follow proper welding methods and include accurate reinforcement. Avoid covering holes with plates simply to pass a quick visual inspection. Each repair should restore strength along the original load path, so the frame performs as intended.
Replace Hardware During Reassembly
Small hardware pieces rust as easily as large auto components. Old bolts and clips often snap during removal, while brackets and body hardware lose strength after years of corrosion. Reusing weakened components will lead to loose panels and unaligned areas, undermining the quality of the restoration.
Organize every fastener during disassembly, so you know which Toyota truck parts you need to purchase for your vehicle’s make and model. Label each location, and note differences in thread length or head style to avoid confusion later.
Seal Hidden Seams After Welding
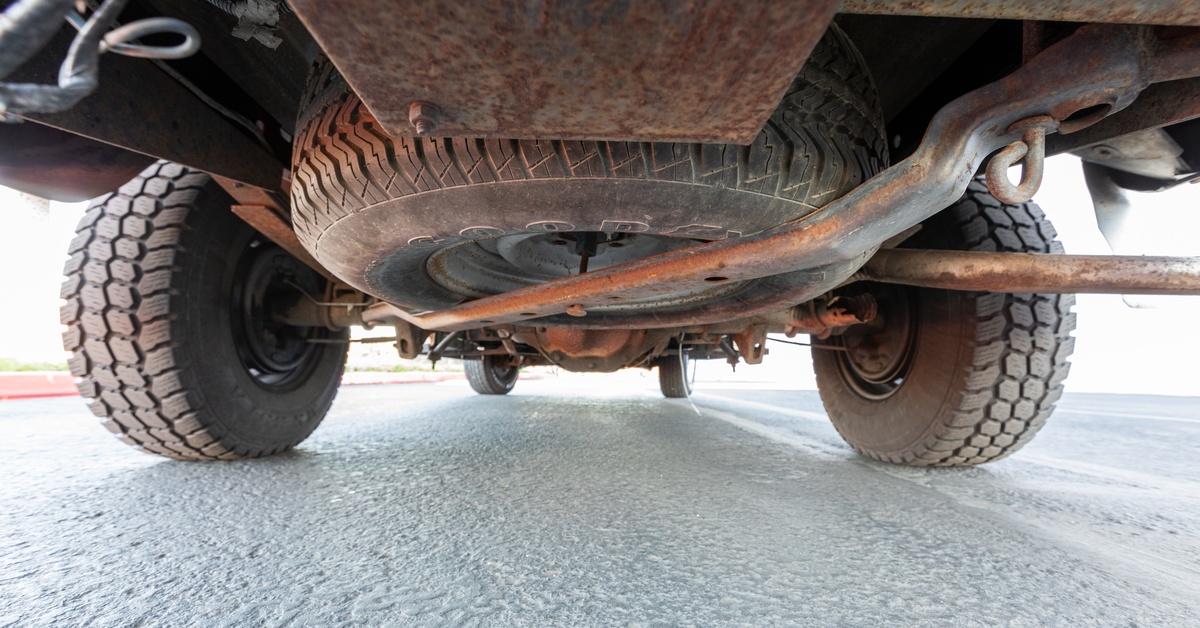
Seam sealing plays a critical role in preventing rust from returning after welding. While welding closes visible openings, moisture can still reach overlap edges and pinholes if any seams remain exposed. Sealing these areas blocks water from entering vulnerable joints and protects the repair over time.
In most cases, you’ll apply a primer to bare metal before seam sealer. Work the sealer into the seam instead of brushing a thin layer across the surface to fully seal the joint. Focus on floor seams, rocker edges, bed supports, and lower wheel arch joints where moisture tends to collect.
After sealing, add a durable coating to the undercarriage. Road spray quickly attacks unprotected metal, which can compromise the repair. A quality coating shields the underside while keeping the restoration aligned with its original condition.
Restore Your Pickup’s Original Strength
Chasing quick cosmetic coverage won’t give your truck the stability and longevity it needs. The process of restoring a Toyota pickup after rust damage is detailed. Nevertheless, it’s the best solution to safeguard the truck’s condition.
Yota Shop supports owners who value factory-minded repairs and authentic Toyota fitment. Choose our OEM parts designed for a wide range of models. With our genuine components, it’s easy to conduct a quality rust repair project.