
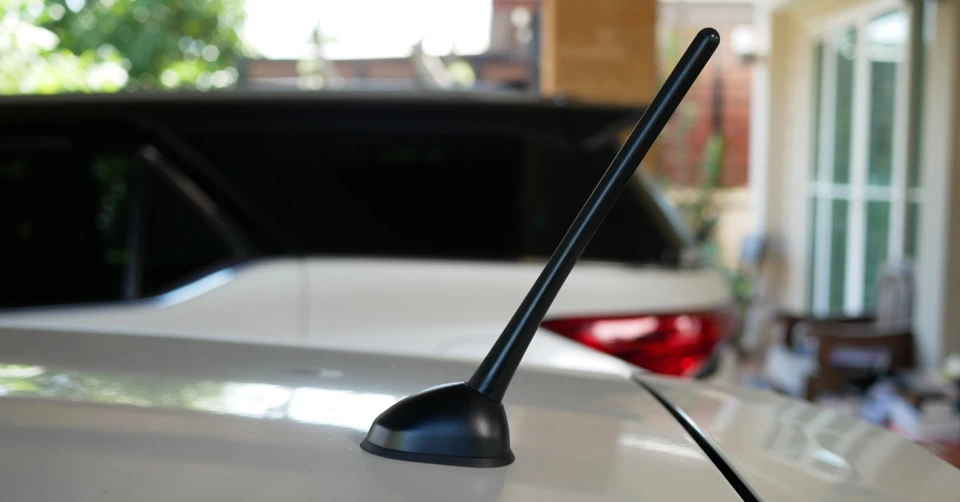
A power antenna is a motor-driven radio antenna that automatically extends and retracts when the vehicle’s radio is turned on or off. The system can fail when the internal nylon drive cable strips or breaks, preventing the mast from moving even though the motor runs. In other cases, electrical issues, like a blown fuse, stop the motor from receiving proper power or signal.
Restoring a Toyota 4Runner power antenna motor might involve a few different steps. The following tips explain how to restore dependable movement while protecting the motor assembly.
Verify Radio Trigger Power
Since the radio commands the antenna system, this is the best place to begin the restoration process. Turn the radio on while listening near the antenna assembly. A healthy circuit may produce motor noise while the mast stays still, but silence suggests an electrical fault or a motor that no longer turns.
Next, check the related fuse and inspect the antenna connector for corrosion. A multimeter confirms whether the connector receives voltage after the radio turns on. Compare each reading with model-year repair information because connector layouts vary. It’s important to avoid opening the motor housing until the electrical supply passes this test.
Inspect the Mast Before Motor Removal
A damaged mast sometimes closely imitates a failed antenna motor. Bent telescoping sections bind against each other, and dirt between the sections produces a similar resistance during extension or retraction. Meanwhile, a broken nylon drive cable lets the motor run without moving the mast.
Examine every exposed mast section for dents and scrape marks. Gently wipe the mast with a clean cloth to reveal damaged areas. Don’t force a seized section by hand because extra pressure risks stripping the internal drive gear. Visible mast damage suggests replacing the mast first to avoid unnecessary motor work.
Disconnect Power After Initial Testing
Electrical testing requires a connected battery, yet disassembly doesn’t require live power. Disconnect the negative battery cable after recording the motor’s behavior. This step prevents the radio from sending an unexpected antenna command while hands remain near the gears. Disconnecting power protects the connector from accidental shorts during removal.
Record any radio settings that the audio unit might lose once battery power is disconnected. Keep the ignition key away from the vehicle during the repair. An accidental key turn could energize another circuit near the work area. Controlled power management makes each inspection safer and reduces the chance of an electrical short.
Photograph Brackets and Wiring Connections
Power antenna assemblies use shaped brackets that position the mast against the body opening. A bracket installed at an improper angle may twist the mast during travel. Wiring clips and drain tubes sometimes follow narrow routes near the housing. By taking photographs, you’re preserving the accuracy of those routes.
Take one wide photo of the complete installed antenna assembly. Then, capture close views of the connector and each mounting point. Mark similar fasteners and place them in labeled bags during removal.
Preserve the Gear Stack During Opening
The motor housing contains a compact drive system that transfers rotation to the mast cable. Opening the cover without preparation risks releasing gears or small washers. The original order controls spacing and gear alignment inside the case. Incorrect placement can cause binding after every damaged part receives proper attention.
Clean loose dirt from the housing before removing any case screws. Place the assembly on a tray that catches small parts. Lift the cover slowly while keeping the gear side facing upward. Take a clear photo of the untouched gear stack while every component remains in place.
Remove Every Broken Cable Fragment
A power mast uses a flexible nylon cable that coils inside the drive drum. Age sometimes splits the cable near its teeth or breaks it into several pieces. The motor might still sound normal because the gear continues turning around the loose fragment. Installing a new mast without clearing the drum leaves the original obstruction inside.
Rotate the drive gear by hand after opening the housing. Remove each cable fragment without prying against the gear teeth. Compare the recovered pieces with the old mast cable to judge whether material remains inside. The drum must complete a smooth rotation before the replacement cable enters the assembly.
Clean Hardened Grease From the Drive Parts
Factory grease loses its original texture after years of heat and contamination. Hardened grease slows the gear train and places extra strain on the motor. Old grease also traps plastic shavings from a damaged drive cable. Fresh lubricant won’t solve the problem if old residue remains packed around the gears.
Use a lint-free cloth and a plastic-safe cleaner on removable drive parts. Clean the gear valleys with a soft brush instead of a metal pick. Lastly, let every part dry before inspection to ensure you don’t overlook cracks or worn teeth.
Inspect Gear Teeth and Motor Shaft
Thoroughly cleaned parts reveal damage that old grease once concealed. Missing teeth usually explain repeated clicking or movement that stops in the same place. Hairline cracks near the gear hub can spread once the motor applies torque.
Under a bright light, inspect the main drive gear and turn it through a complete revolution. Check the motor shaft for side movement and rough rotation. A shaft that binds points toward internal motor wear instead of a simple mast failure.
Then, examine the electrical contacts closely to identify heat marks or corrosion. It’s important to replace a damaged component instead of allowing a worn motor to drive a fresh mast.
Apply Fresh Grease in Thin Layers
Too much grease increases drag and pushes lubricant into areas that must remain dry. Controlled application supports quiet movement while leaving room for the cable to coil. Apply a thin layer of plastic-compatible grease across the gear teeth and drum contact surfaces.
To evenly spread the grease, rotate the gears by hand. Remove any excess grease that gathers along the housing case edge, and be sure to avoid application on the electrical connector and motor contacts.

Synchronize Mast Travel Before Reassembly
A replacement mast must enter the drive gear in the correct direction. Reconnect the antenna assembly temporarily after securing every loose internal part. Turn the radio on until the drive gear reaches its extension limit, then feed the cable until its teeth engage.
Ask a helper to turn the radio off so the gear draws the cable inward, but stop immediately if the cable resists or folds. Cycle the antenna several times before installing every trim piece, then watch for hesitation or clicking.
Find Replacement Parts at Yota Shop
Toyota 4Runner power antenna motor restoration succeeds when the mast reaches both limits without strain. Browse Yota Shop for Toyota 4Runner accessories designed for your vehicle’s year. We’ll provide the supplies you need to restore clear radio reception that makes everyday driving more enjoyable.